Carve a picture in 3D#
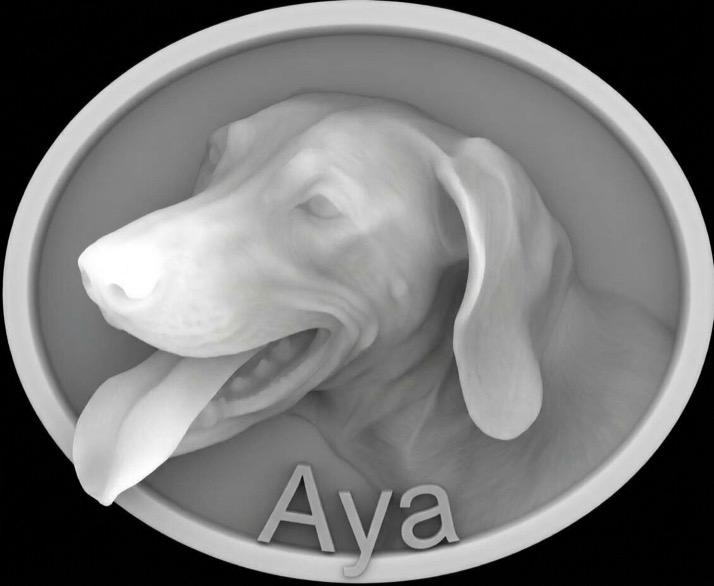
You will carve a relief plaque from a depth map: a greyscale picture where white is high and black is low. Allow 15 minutes, plus simulation time.
You need: a depth map image (PNG is best), a 6 mm end mill and a 1/8" ball nose in your tool library.
1. Set the stock#
- Click Setup.
- Make the stock bigger than your picture, and at least 15 mm thick.
- Close the panel.
2. Import the picture#
- Click Import File in the toolbar.
- Pick your image.
- Drag a corner handle to size it on the stock. Drag the picture to move it.
3. Draw a boundary#
- Draw an Ellipse (or any closed shape) around the whole picture.
- Press Esc.
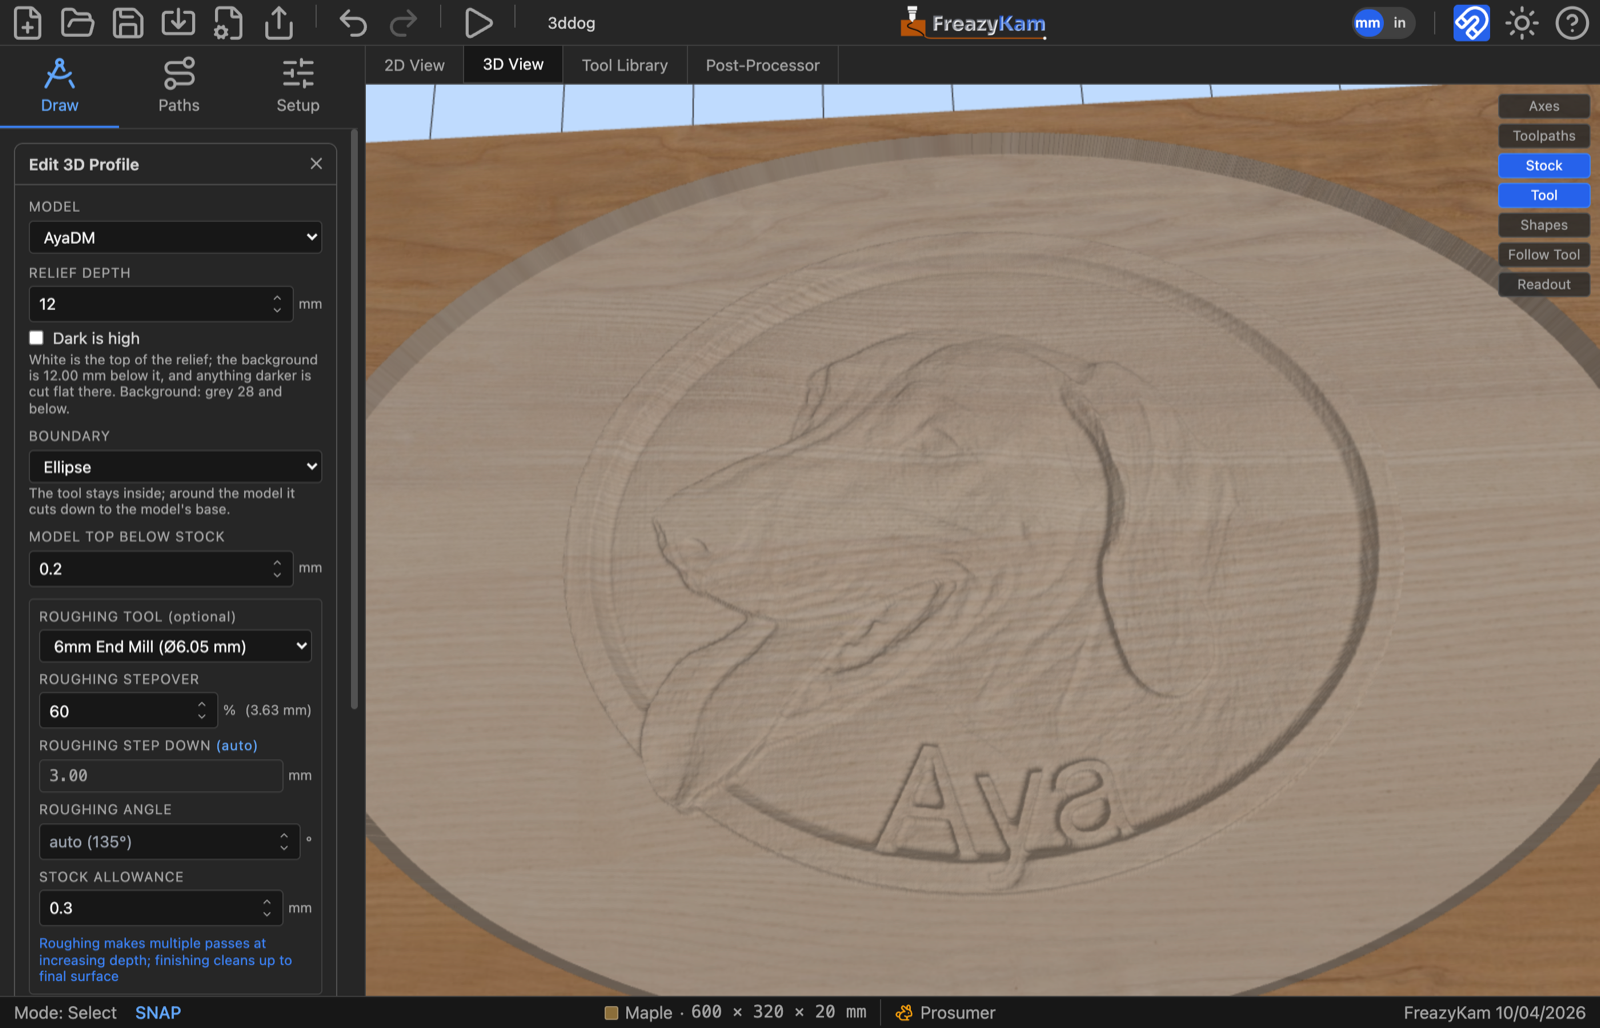
4. Set up the 3D carve#
Under CAM Operations, click 3D Profile.
Set:
Field Value Model your picture (listed under Depth map image) Relief Depth 12Boundary the ellipse Model Top Below Stock 0.2Roughing Tool 6 mm end mill Roughing Stepover 60%Finishing Tool 1/8" ball nose Finishing Stepover (XY) 20%Angle 45Read the line under Relief Depth. It ends with Background: grey … and below: those greys are cut flat as the floor.
Click Generate Toolpath. This can take a little while.
5. Simulate#
- Click Simulate G-code.
- Click 3D View.
- Press Play.
6. Export#
- Click Export G-code.
- Check the estimated run time. 3D jobs are long.
- Tick Split into one file per tool, so you change bits between files.
- Click Export.
Done#
Next: Run your first job on the machine
Want to know why?